

How To Add Margin To Blog Header Picture Artista Theme
Nowadays, websites can appear across hundreds of different screen sizes, even in different orientations on the same device (landscape or portrait). The displays people see your site on can be just a few hundred pixels wide on mobile, up to thousands of pixels in width on newer hi-definition widescreen monitors.
Because new technologies provided a range of screen sizes that people can see your site with, it also required a new way of thinking about site design that made sure sites looked great on any screen - big or small, tall, or wide.
This is where the concept of 'responsive' website design comes into play!
How Responsive Design Works
A responsive website is built so that the positioning and size are 'relative' to the space they're viewed in. When your site is viewed across different displays, it will adapt by stretching or shrinking; moving around to fit into the space available.
Any photo you upload to your Bandzoogle website will stretch and scale depending on how large the 'space' the picture is in.
With header images, this is especially important because responsive images will 'fit' as best as possible to the frame. Less work cropping a bunch of pictures means more time, well, playing music, right?
Let's look at five ways to optimize the images on your band website to get your design just right.
1. Choose the right image
Responsive design scales page elements like your header images 'proportionally' to the original size of the image file you use, and will do this 'relative' to the space the image is set within on the page.
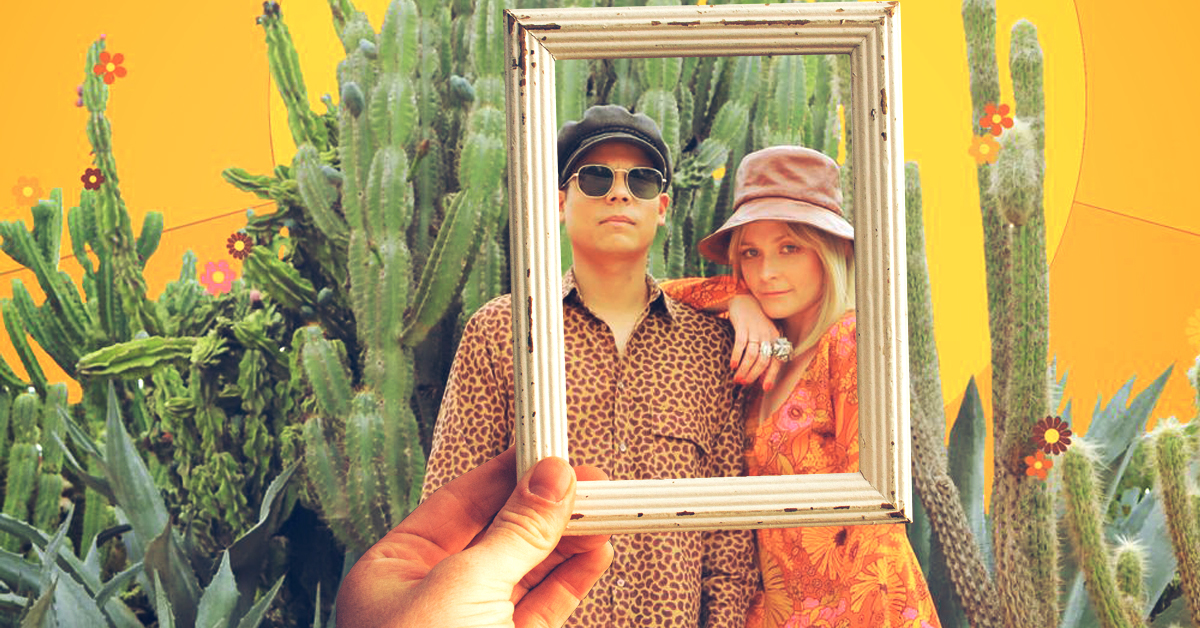
This means the image proportions are maintained on all devices, and images will always try to 'fill' the space they're in as best they can. This can result in header images having parts of the picture appear 'cut off' - this is unavoidable in responsive design, but choosing an image that crops well to fit, will help.
 Artist: Tragedy Ann
Desktop and widescreen
On a laptop, header images will be scaled relative to the width of the screen. On a mobile device, the image would scale based on the height of the screen.
In other words, your picture will always scale in relation to the longest side of the space.
Now, imagine this on a screen that is 1,000 pixels wide - desktop / laptop screens are wider than they are high, and let's say this same screen is also 570 pixels high (about the 16:9 ratio for a lot of displays).
In this scenario, our image is 1,000 pixels wide on this display, but has been scaled to 900 pixels high, which means, in a space that's only 570 pixels high, it winds up cutting off over 300 pixels worth at the top and bottom of the picture. Headless pictures, yikes!
Mobile and portrait orientation
Do the same math with the mobile screen example that is 600 pixels high - say this same display is only about 320 pixels wide. When the picture adapts to this display over half the image would be cut off at either side (remember the image gets sized down to 667 pixels wide on a 600 pixel high portrait screen).
This is a good way to annoy the drummer at the edge of your band photo, which can be fun! But still...
Optimize, then upload your files
A good metaphor you can use is to imagine you're at an art gallery framing pictures - if you put the landscape Monet into a 'Whistler's Mother' portrait frame, that frame will cut off a lot of really nice water lilies at the side of your painting.
This is where it can get tricky - site builders can't anticipate the images you want to use (or what is showing in them), but being selective with what images to add is a good first step.
A few easy tips to selecting the right image for your header:
- Avoid using images that have been 'close cropped' - the more space or padding you have around the 'focus' of your image, the less likely that the focus will be cut off on different displays.
- Use large images - 2000 x 1800 at 72dpi size usually works well for most Bandzoogle themes, and helps to make sure your images look great on every display.
- Try to use images that are close to 'square' in orientation - It doesn't have to be a perfect square image, but as close as you can get to equal height and width in your picture will usually work great on any display. This extra space gives you breathing room no matter what orientation your site is viewed in.
- Try to avoid using images with text or logos in the picture itself - you definitely don't want important text or your branding getting cut off for your visitors!
- Add your logo instead under the 'title / logo' option of your Bandzoogle theme editor. Then add any text you want in the header to the 'Call to Action header feature.' This way, your important messaging won't be cut off by the display edge.
![]() Artist: Martin and James
Artist: Martin and James
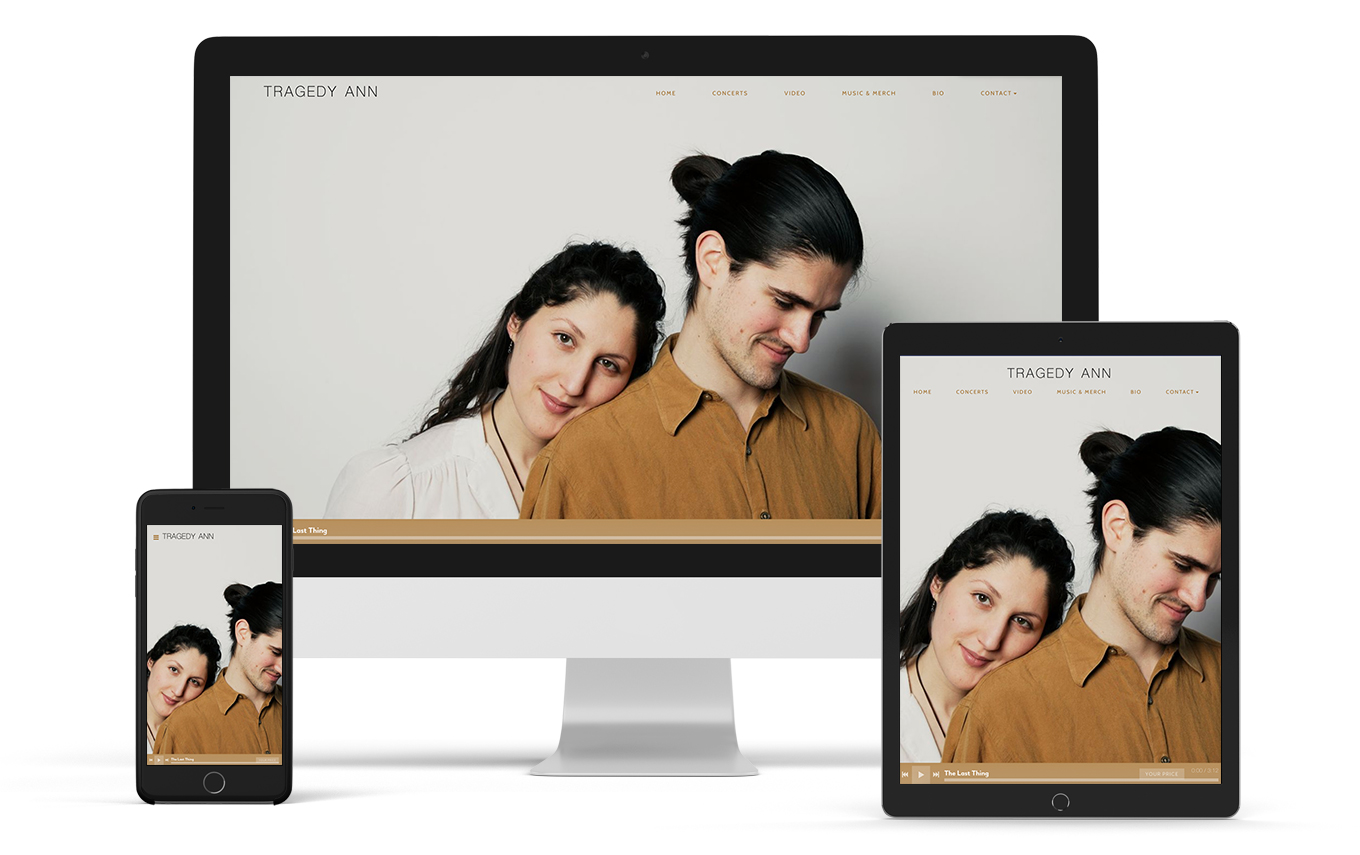
2. Crop to suit your theme
If you have images already uploaded, Bandzoogle comes with some great tools to make them display even better!
Some of our template designs will display 'full screen' when they load, have adjustable header heights, can show header images in a limited space, in different shapes (such as the Spotlight template), or even set your header image as a background to your pages (Slice, for example).
It's easy to try out different themes with different header options - you can change the theme design via 'edit theme' > 'view themes', select the theme you want, customize that theme in the design editor, click 'save' and publish your changes.
Provided the theme doesn't set your header as a full page background image, you can also adjust the relative zoom and positioning of pictures you add.
In 'edit content' click the header image in your edit content tab, then in the header editor, click the 'crop' link below your header image thumbnail.
You can then adjust the zoom with the zoom slider, and click/drag the image into a relative placement.
3. Set a focal point
When cropping your header image in the header editor, you may also notice a small blue dot over the image - this is for setting your 'focal point'. What this does is ensure wherever this dot is positioned on the image, will always be 'in focus', no matter the size or orientation of your image.
This can be really handy for images where the 'focus' of your uploaded picture is not totally centered - click / dragging the focal point over the image focus will ensure that no matter what gets cut off on different screens, the focus is front and center.
Once you set your cropping, zoom, and focal points, just click 'save' to apply the crop, and then click 'save' again in the header editor to apply your changes.
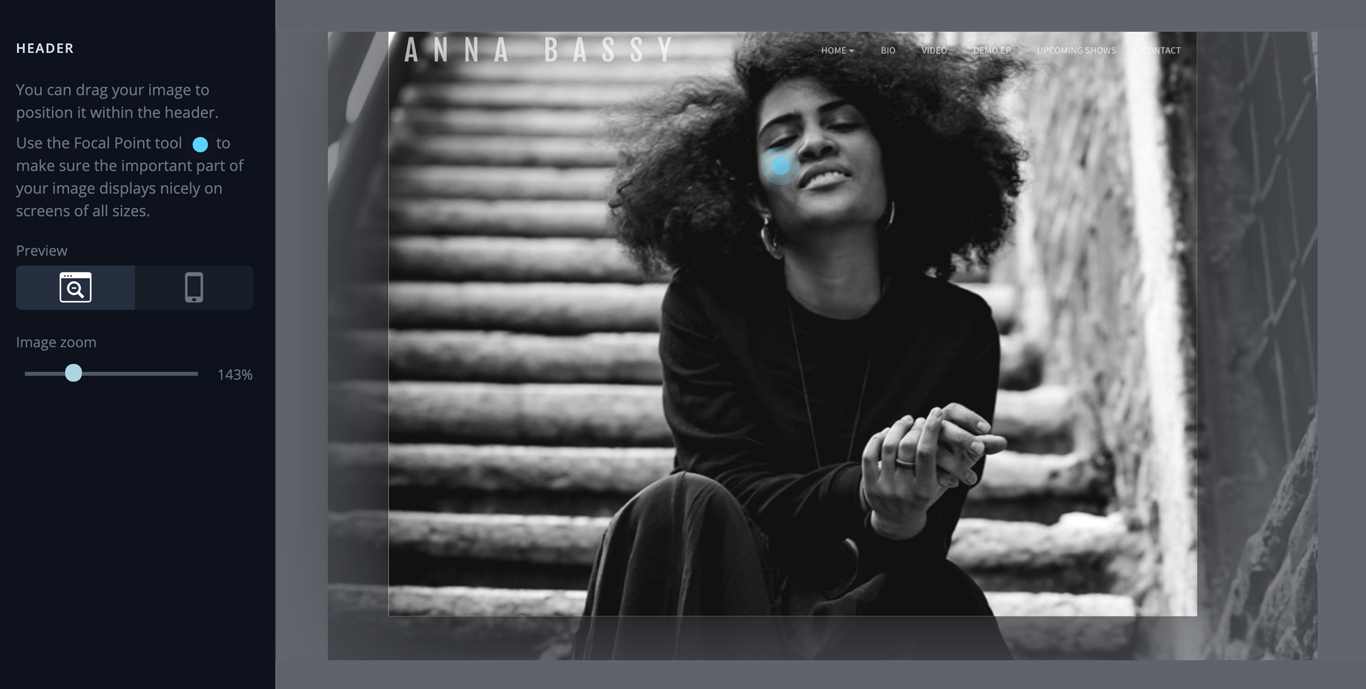 Artist: Anna Bassy
4. Customize the mobile header height
The line between what a mobile screen and non-mobile screen is being blurred all the time - take a tablet device for example. Not big enough to be a 'desktop', but not quite small enough for a mobile screen.
When you view sites on a lot of tablets in 'landscape', the site may appear much as it does on a desktop or laptop screen. Turn that tablet sideways though as a 'portrait', and everything can change - the reduction of screen width can present more 'mobile' elements closer to what you may see on a phone.
Most Bandzoogle themes are by default set to show a 'full height' header in portrait-oriented screens - this can be problematic if your header image contains focus towards the left and right sides.
For this, provided your theme isn't setting your header as a background image for your pages, you can enable the 'custom mobile header height' option in the 'header' settings via your 'edit theme' tab.
Once enabled, click the 'mobile preview' icon in the theme editor, and adjust the 'header height (mobile)' slider - this can help to adjust the space your image is in to better match your image proportions, and show more of the image. Just click 'save' after you set this!
5. Add filters
Finally, you can add some really amazing vibes to your header images by setting a filter. Bring out the blues, give your picture a more '70s film' look, or go vintage black and white. There's a lot of options here!
Just click the 'edit theme' tab in your Bandzoogle control panel, and under the 'header' options, you can select a prefab filter, or create your own custom filter style.
 Artist: Carleen Williams
While it can be a bit to wrap your head around sometimes, the overall consensus with web designers is that responsive is the better way to go in terms of your website.
It guarantees your site will look great and be legible on every screen available now, as well as in the future, and sites like Google will rank you better if your site uses good responsive practices.
In the long run, it also is a great time saver for those of you that manage your own sites - knowing the best way to optimize your images and content is the first step, and Bandzoogle takes care of the rest!
Make a music website with responsive images in just a few clicks. Build your website with Bandzoogle today!
How To Add Margin To Blog Header Picture Artista Theme
Source: https://bandzoogle.com/blog/5-ways-to-optimize-images-on-your-band-website
Posted by: hernandezouldives.blogspot.com
0 Response to "How To Add Margin To Blog Header Picture Artista Theme"
Post a Comment