

How To Use Camera In Virtualbox
If you're using Ubuntu xx.04 on a Virtual Box on a Windows PC, follow the instructions below to make sure your installation recognizes your built-in webcam.
Go to this page, and make sure you lot download and install the latest version of Virtual Box.
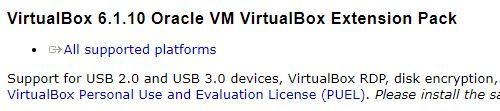
In one case you have done that, get to this page, and download the Virtual Box Oracle VM VirtualBox Extension Pack.
Click on the Oracle VM VirtualBox Manager.
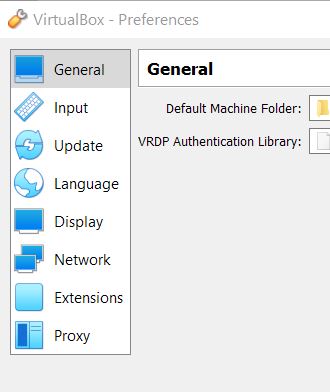
Go to File -> Preferences.
Select "Extensions" in the Preferences menu.
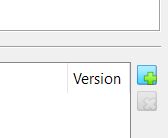
Click the "Add together a New Package" icon on the correct-hand side.
Select the Virtual Box Oracle VM VirtualBox Extension Pack yous downloaded earlier.
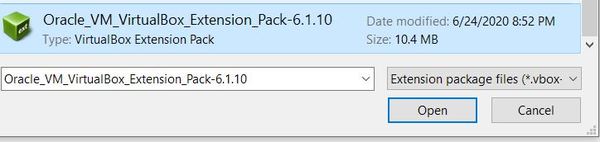
Click Open up.
Click Install at the prompt.
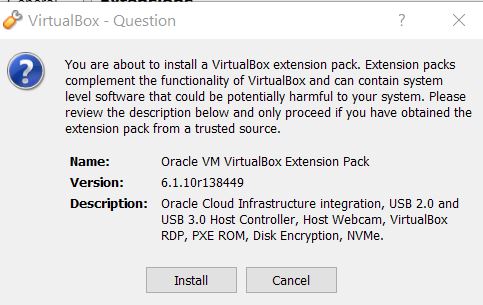
Scroll to the bottom of the VirtualBox License and click "I Agree".
Click Yeah to make changes to your system.
After it has installed, you lot should meet this message.
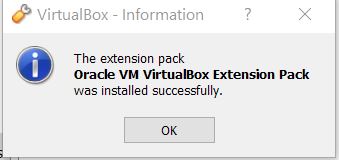
Click OK twice to go back to the main panel.
Close the Oracle VM VirtualBox Director.
Go back to Windows.
Launch the Command Prompt. Press the Win + R keys, then, type 'cmd' and Enter.
Go to the VirtualBox folder.
cd c:\Programme Files\Oracle\VirtualBox
Bank check the list of available cameras by typing this command.
VBoxManage list webcams
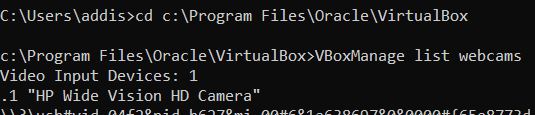
I accept 1 webcam bachelor.
Attach the webcam (or webcams) you want to use. The number at the end of the line indicates the camera.
VboxManage controlvm "Ubuntu 20.04" webcam attach .1

Open the Oracle VM VirtualBox Managing director.
Launch Ubuntu.
In the peak of the VirtualBox in the upper-left, there is a Devices dropdown card. See the image below, towards the top (it is a bit tough to run across in this photo, just it is there in faint text)
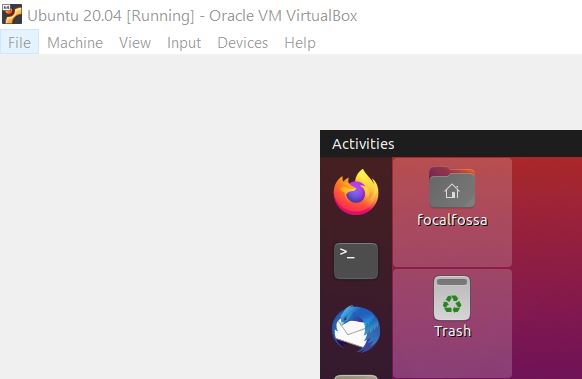
Click Devices -> Webcams. Enable your webcam(due south). When y'all enable it, a check mark should appear next to it. Y'all'll have to do this footstep each time yous launch Ubuntu.
Open up upward a new concluding window in Ubuntu. Copy the code from this post into a new Python program. That code uses the OpenCV library, a pop library for computer vision. You can salvage it to your Desktop in Ubuntu.
To run the code, type:
repeat 'consign OPENCV_LOG_LEVEL=ERROR' >> ~/.bashrc
Y'all merely need to type that command in one case. It keeps a bunch of error messages from popping upward each time you run the program. Yous are adding a line to your .bashrc file.
Now type:
chmod +10 object_tracker.py
Now open up a new final window, and type:
python3 object_tracker.py
*Replace object_tracker.py with whatever you named your program.
You lot should see yourself on the webcam. Don't worry almost all the error letters that pop upwards in the concluding. If you see yourself on the webcam, everything is working fine.
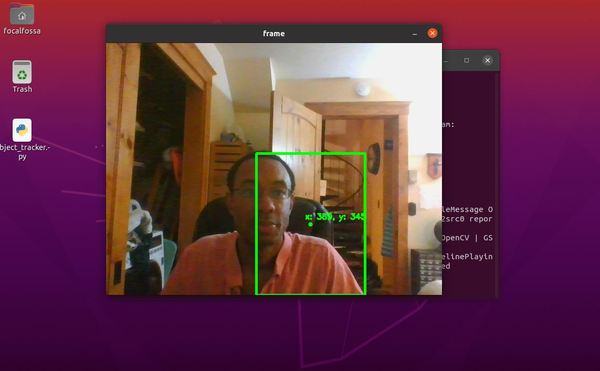
Press CTRL+C in the terminal window to shut everything downwards when you're done.
That's it! Go on building!
Source: https://automaticaddison.com/connect-your-built-in-webcam-to-ubuntu-20-04-on-a-virtualbox/
Posted by: hernandezouldives.blogspot.com
0 Response to "How To Use Camera In Virtualbox"
Post a Comment